Getting Attached
|
|
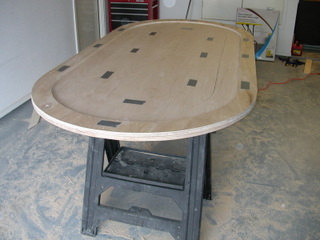
Now it's time to make some attachments. The felt insert is removeable, but will be secured using TNuts and bolts. Also, I decided that I want the rail to be removeable, so it too will be attached in the same manner.
Any size can be used I suppose, but the 3/8" TNut worked best for me. The inside measurement is 5/16", so make sure your bolts are the right size. It doesn't matter if you use fine or coarse thread, so long as the bolts match the nuts. For the insert I used 1.25" bolts, and for the rail, 1.75" |
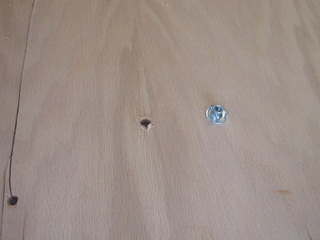
| Start by drilling a 3/8" pilot hole |

|
|
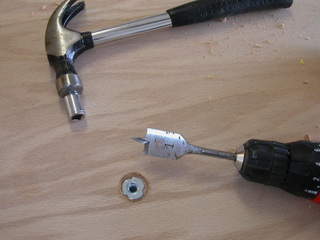
Next use a 1" bore bit to allow the nut to be below the surface. Don't go too far, or you'll end up with a big hole in your board.
Once your hole has been drilled and bored, the TNut should be hammered into place. You don't want to damage the board during this process, so use something to drive the nut in. I chose to use a socket I had handy. |
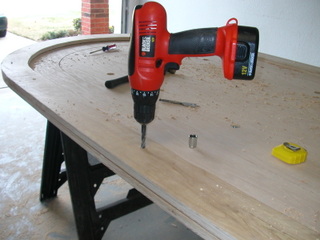
| Drilling a pilot hole on the rail. |
|
|
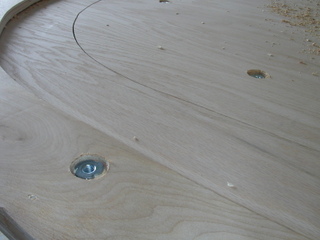
Here's a look at a nuts on the rail and on the insert. |
Here is a shot of one of the bolts installed on the underside of the playing surface. Because the bolts are a little long, I used an extra washer to keep them from sticking up on the playing surface.
Note: Be sure to put all of your bolts in before covering the insert and the rail. It's better to find and correct any problems now rather than after the parts have been covered. |
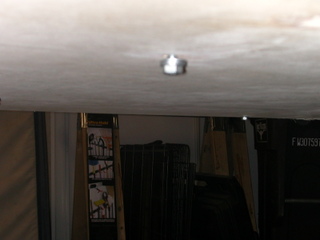
|
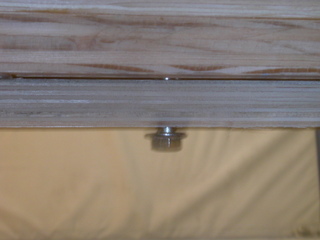
|
This is a shot of one of the bolts used to attach the rail. |
| The next step is to cover the nuts with duck tape. Doing so will prevent any sag in the rail and playing surface. |
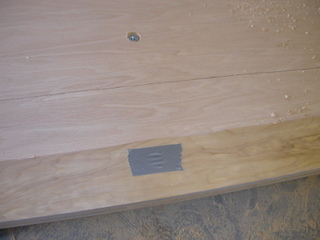
|
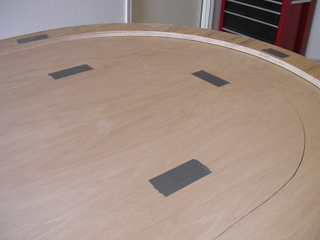
|
Here we see on end of the table |
| And here, the whole thing |
|
|
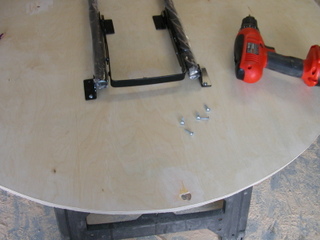
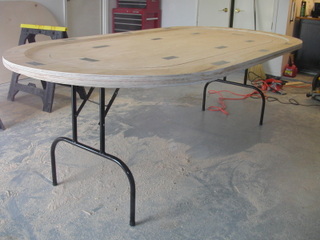
Once the T-Nuts are all in place, it's a good time to put the legs on the base board. The reason you want to do this after installing the T-Nuts, is that you don't want to risk drilling through your legs with one of the pilot holes.
The set of legs I purchased from Lowes, and they are simple one size fits all legs that are generally used for replacement of broken folding table legs. |
Your installation may differ slightly, but it shouldn't be anything earth shattering. My legs used 16 screws, 8 per set of legs.
It's probably a good idea to check ahead of time and make sure the screws are not going to poke out the top side of the base board. If this is the case, it's better to use a slightly shorter screw. |
|
|
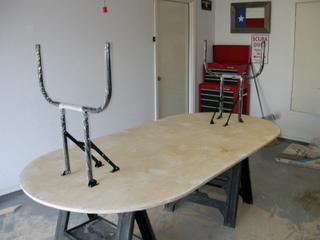
Another angle |
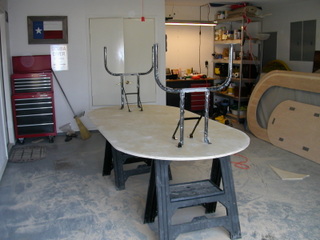
| Things are starting to shape up quite nicely. Here is the table with all the unfinished pieces. |
|